
|
WALKTHROUGH
Timbermist Woods
|
Part Two Location: The Timbermist Woods Objective: Get the magic scroll by giving a quill to Darm Place the birthstones on the altar to get the flute Exit the Timbermist Woods and enter the Shadow Labyrinth Map of the Timbermist Woods 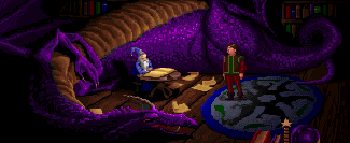 walk left one screen to Darm's Hut enter the Hut talk to Darm & Brandywine (the dragon) he will ask you to get him a quill exit the Hut 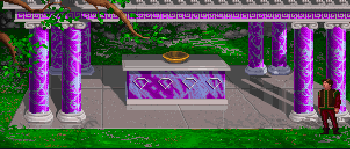 walk down one screen left one screen to the Marble Altar drop any gems that you have in your inventory on the ground around the altar You eventually will have 12 gems here 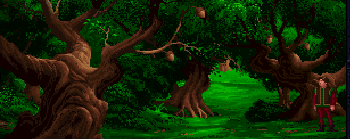 you now need to find an acorn, a walnut, and a pinecone
 the pinecone appears randomly in the woods walk left one screen to the Grove of Oaks take the acorn walk right three screens to the Songbird Nest take the walnut wander around until you find the pinecone  go to the Deadwood Glade...from Darm's Hut,
walk down three screens right one screen, down one screen place the acorn, walnut, and pinecone in the dark hole (your monitor display will shake after each one) a pseudobushiahugiflora will appear and give you the first amulet stone (yellow), which gives you the power of healing 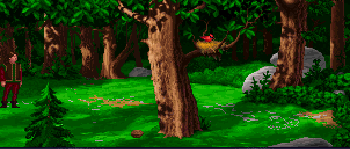 walk up three screens to the Songbird Nest click on the yellow stone in your amulet click on the bird; pick up the quill walk left one screen, up one screen to Darm's Hut give the quill to Darm and take the magic scroll talk to Darm about your next quest-the Birthstones 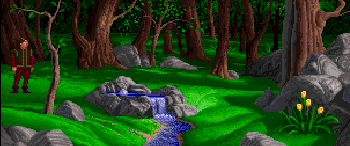 walk down two screens right two screens to Bubbling Spring click on the river to get the Sunstone walk left four screens up two screens to the Ruby Tree 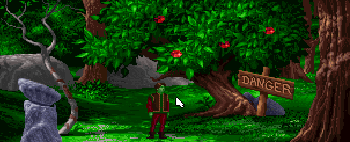 ***Fun thing to do*** SAVE YOUR GAME FIRST!!! take a ruby from the tree and don't use your amulet afterwards you will turn green and die reload your saved game 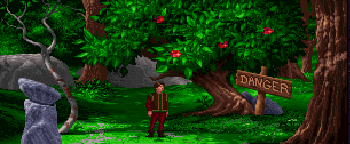 take a few rubies from the tree after the snake bites you, use the yellow amulet stone to heal yourself before you leave this screen Continue to wander around this forest and the forest around Brandon's Treehouse until you find 11 different gems (not including the Sunstone). The gems are randomly placed for each game, so you may not always find them in the same places. The gems you should find are: garnet, amethyst, peridot, topaz, opal, onyx, ruby, aquamarine, sapphire, pearl, diamond. 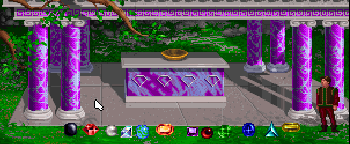 You now have to place the correct stones on the altar in the correct sequence; the Sunstone is always first, the sequence of the remaining gems is randomly determined for each game walk to the Marble Altar - from Darm's Hut, down one screen, left one screen
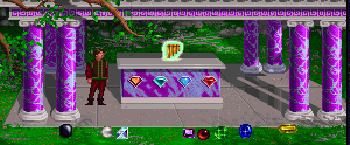 Ok, you have completed the Birthstone Quest. You should now have in your possession: 1 Red Gem (Ruby or Garnet), 1 Blue Gem (Sapphire, Opal, or Aquamarine) and the Topaz; the Magic Scroll; the Flute. If you are missing any gems, wander around the forest to find them.  walk right one screen, up one screen to Darm's Hut talk to Darm walk down two screens walk right two screens to the Bubbling Spring take tulips walk down two screens this is a good spot to drop items needed later 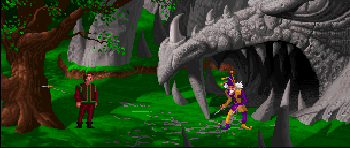 walk right one screen to the Serpent Grotto
enter the cave, Malcolm will chase you back out Malcolm will throw a knife at you throw the knife back Malcolm will freeze the cave entrance use your flute to unfreeze it before you enter the cave, make sure you have empty inventory slots open drop the tulip, the gems, and the apple outside the cave enter the cave, taking the scroll with you |

| Kyrandia 1 Walkthrough | ||||||
| Brandon's Forest | Timbermist Woods | Labyrinth | Zanthia's Forest | Dark Island | Castle Kyrandia | History of Kyrandia |
| Kyrandia 2 Walkthrough | ||||||
| Darkmoor Swamps | Morningmist Valley | Highmoon | Volcania | Petrified Forest | Alpinia | Wheels of Fate |
| Kyrandia Home Page | ||||||

Copyright © 1999, 2000, 2001 pattycakes
Last modified: January 20, 2001
The Kyrandia Games Series is © 1995, 1996, 1997, 1998
Westwood Studios